Creating a new Project
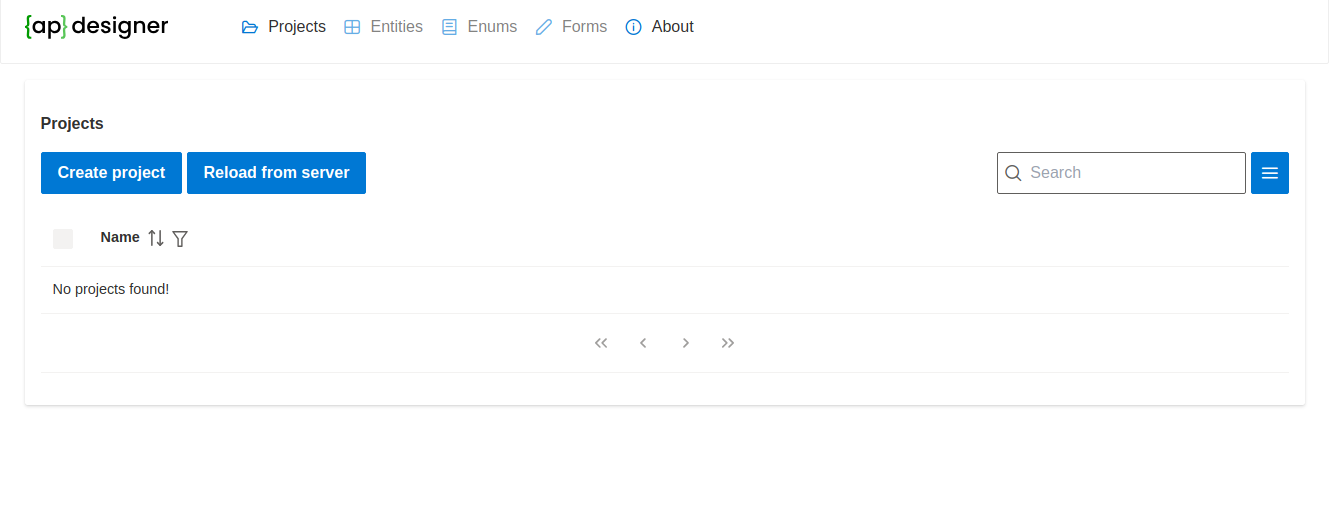
After launching Applipress, you can access the application through a web browser at http://localhost:18080. Upon successful startup, the Applipress home page will be displayed. If there are no existing projects, the 'Projects' page will appear by default.
-
To start the creation of a new project, click on the 'Create project' button located in the upper left corner of the page.
-
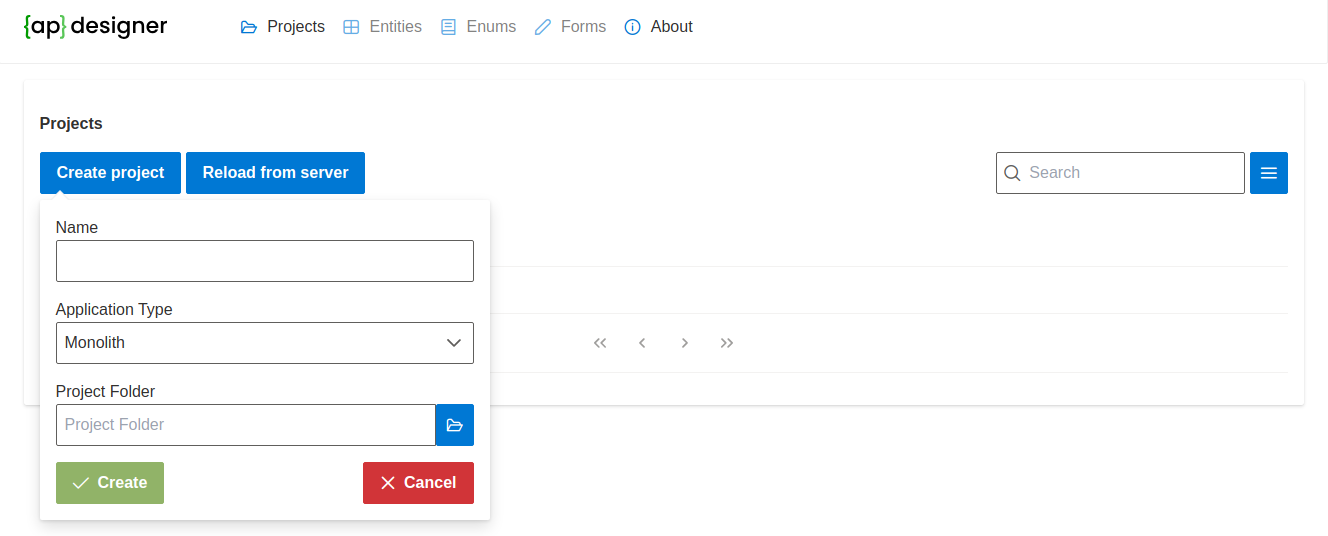
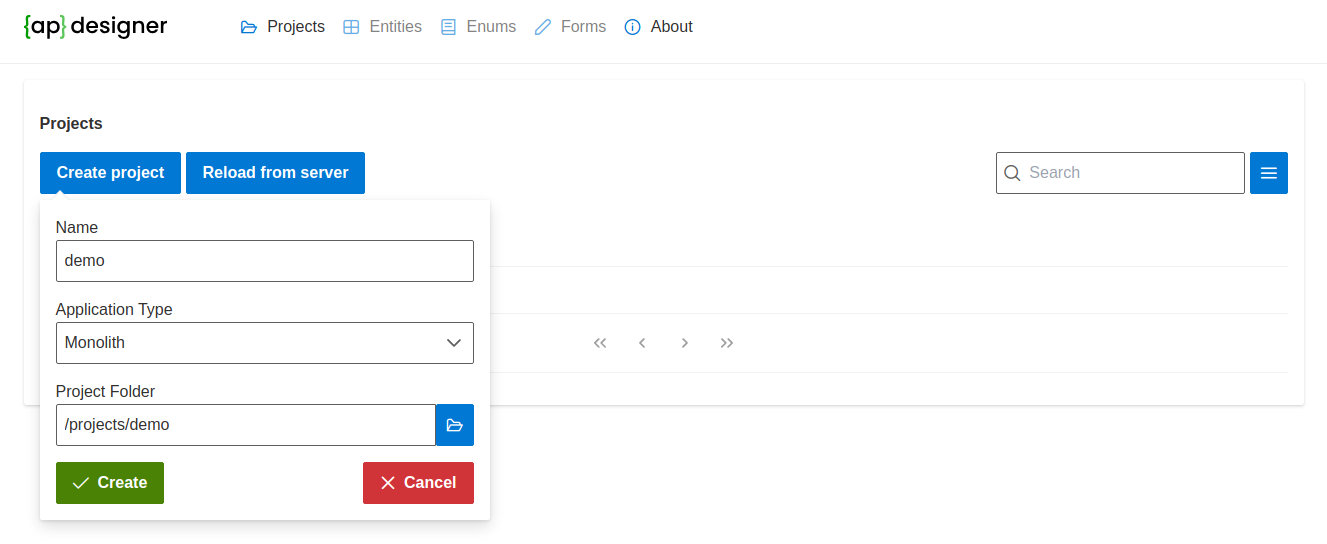
In the 'Name' field, enter the name of your project. This field is mandatory. For this example, let's name our project 'Demo'.
-
Select the type of application you wish to create in the 'Application Type' field. For this instance, we will choose 'Monolith'. The option to create a 'Microservice' application architecture is also available and will be described separately.
-
The 'Project Folder' field requires you to specify the location where the project will be created. By clicking the folder opening button, you can select the location for your project. This dialog also allows for the creation of a new directory. In this example, we will create a new directory at '/projects/demo' and select it.

-
After filling in the details for your project, press the 'Create' button.
-
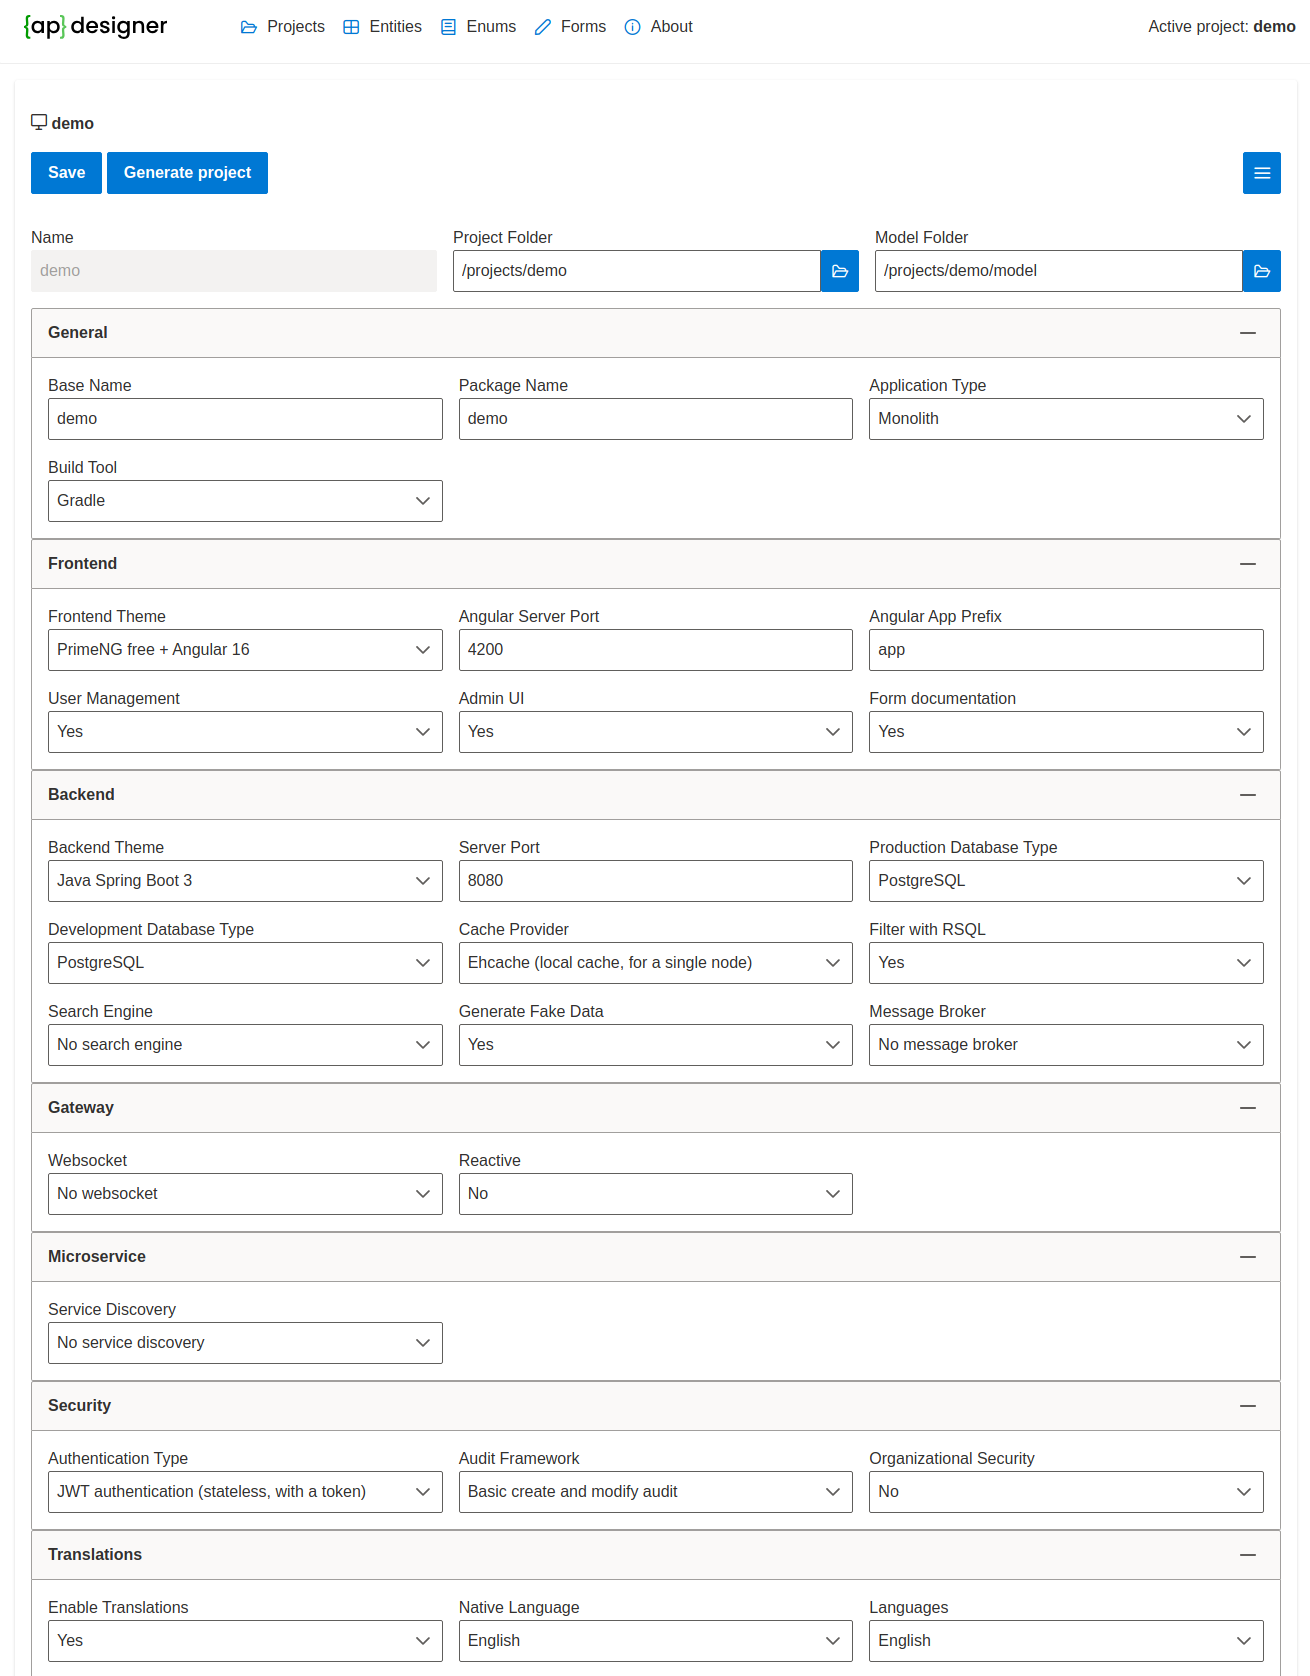
Following this, the project settings page will appear with all the configurations for your project. The details of these settings will be described in the following section.
-
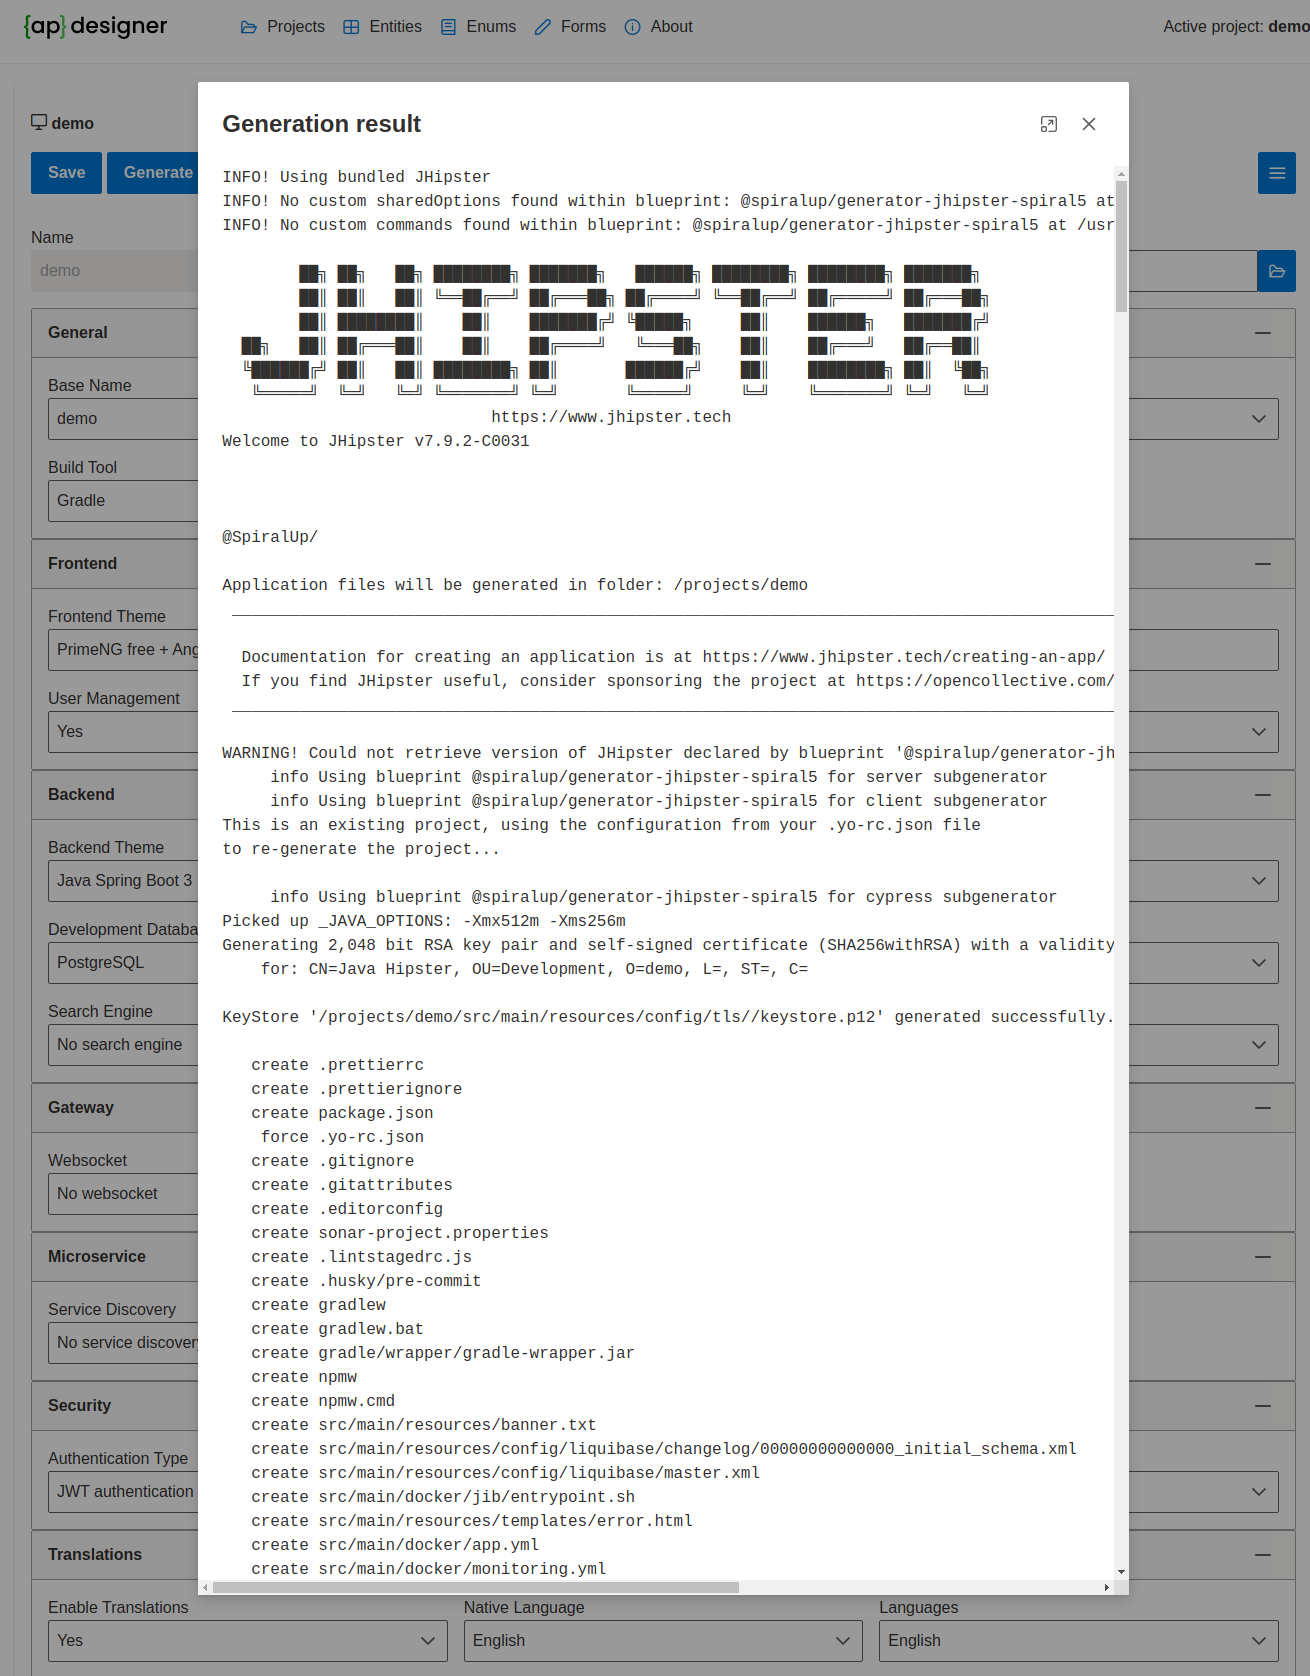
To proceed with the project creation using the specified settings, click on the 'Generate project' button located in the upper left corner of the page.
-
Once the project has been generated, a 'Show generation result' button will appear, allowing you to view the details of the application generation process.
