Running a Generated Application
In the previous step, we created an application using Applipress. Now, we will run this application to see it in action. The created application is a Monolith type, uses Gradle for building, and Postgres as the database. By default, the application will be created in the ./projects/demo directory on your computer.
-
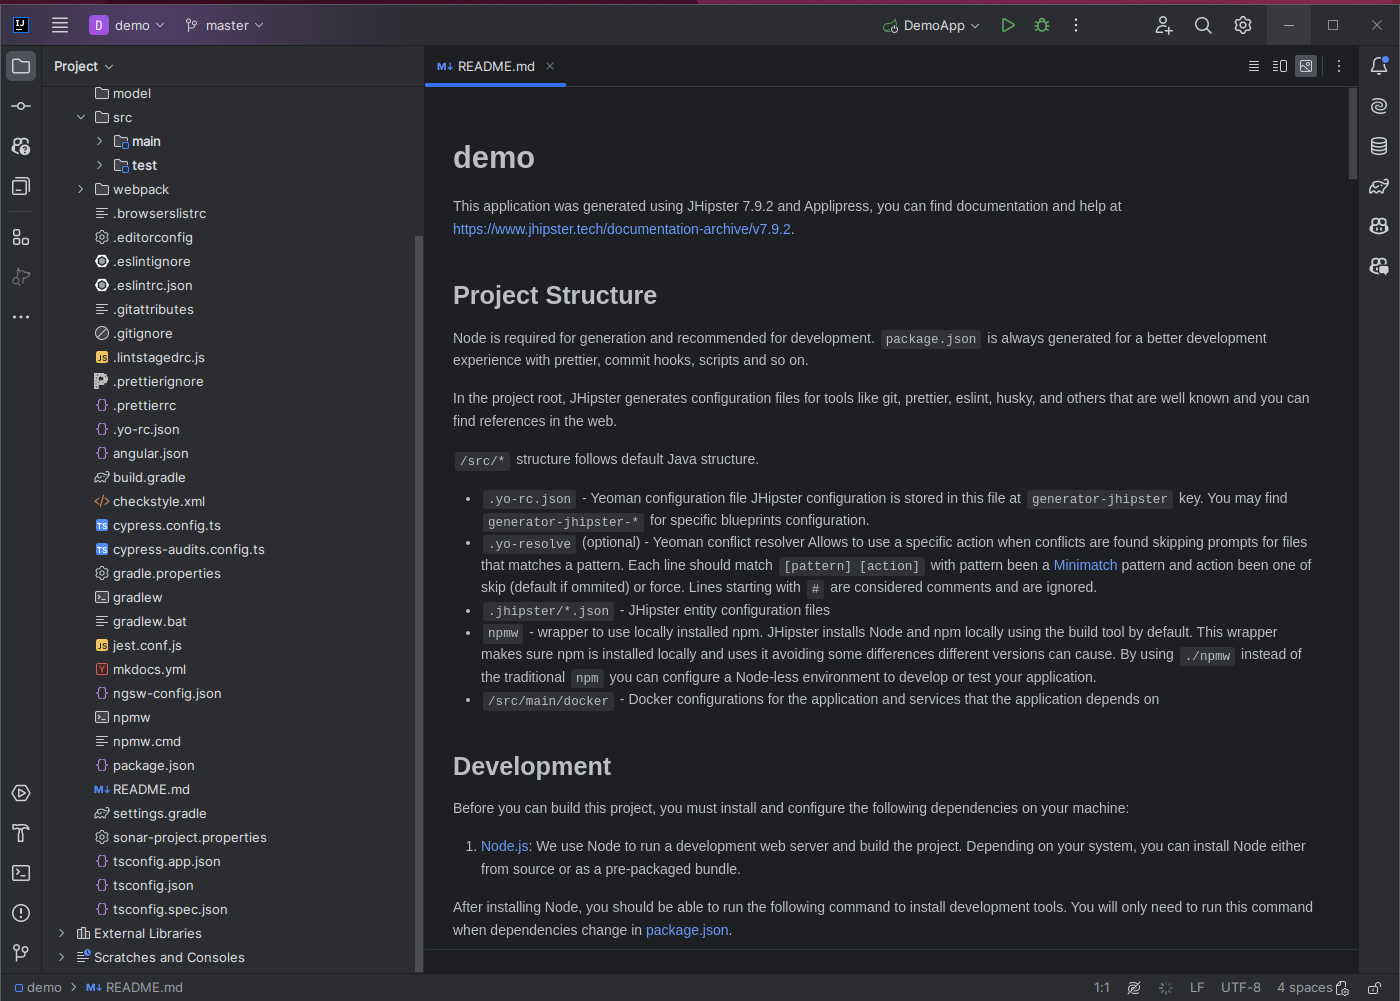
Open the application through an IDE (such as IntelliJ IDEA, VS Code, or another of your choice).
-
The README.md file contains basic information about the application and instructions on how to run it.

Starting the Application
-
Open a terminal and navigate to the ./projects/demo directory.
-
Before launching the application, it's necessary to install all components required for the Angular application. This can be done with the following command:
npm install -
First, start the infrastructure required for the application using the following command:
docker compose -f ./src/main/docker/app-dev.yml up -d -
After the infrastructure is up, you can run the backend application with the following command:
./gradlew -x webapp

-
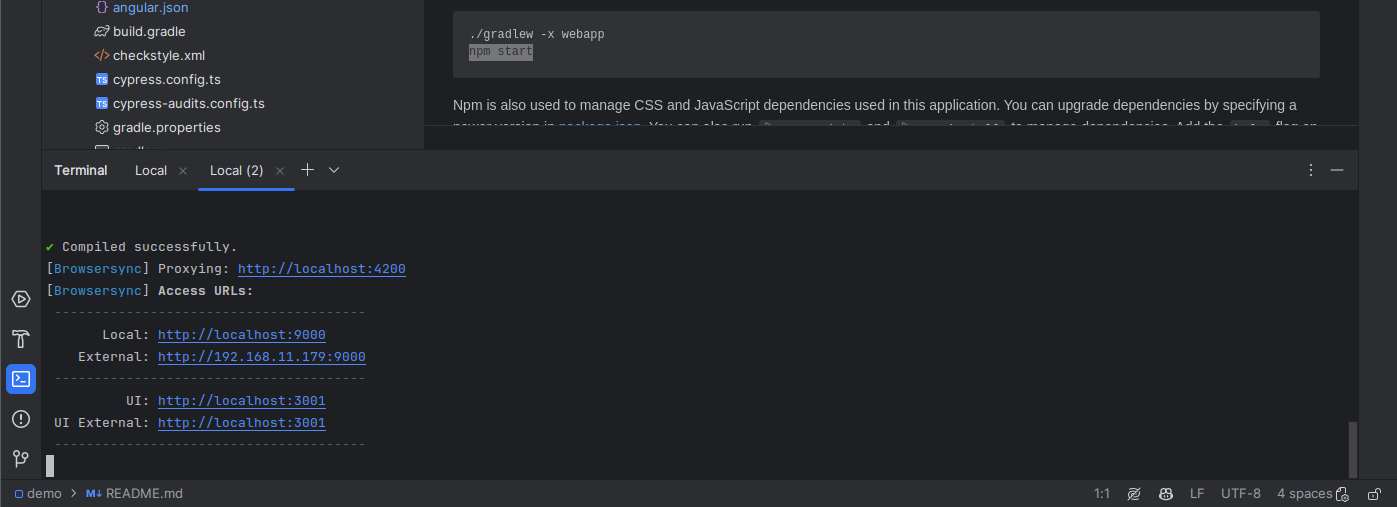
The Angular application can be started in a separate terminal window using the command below:
npm start

-
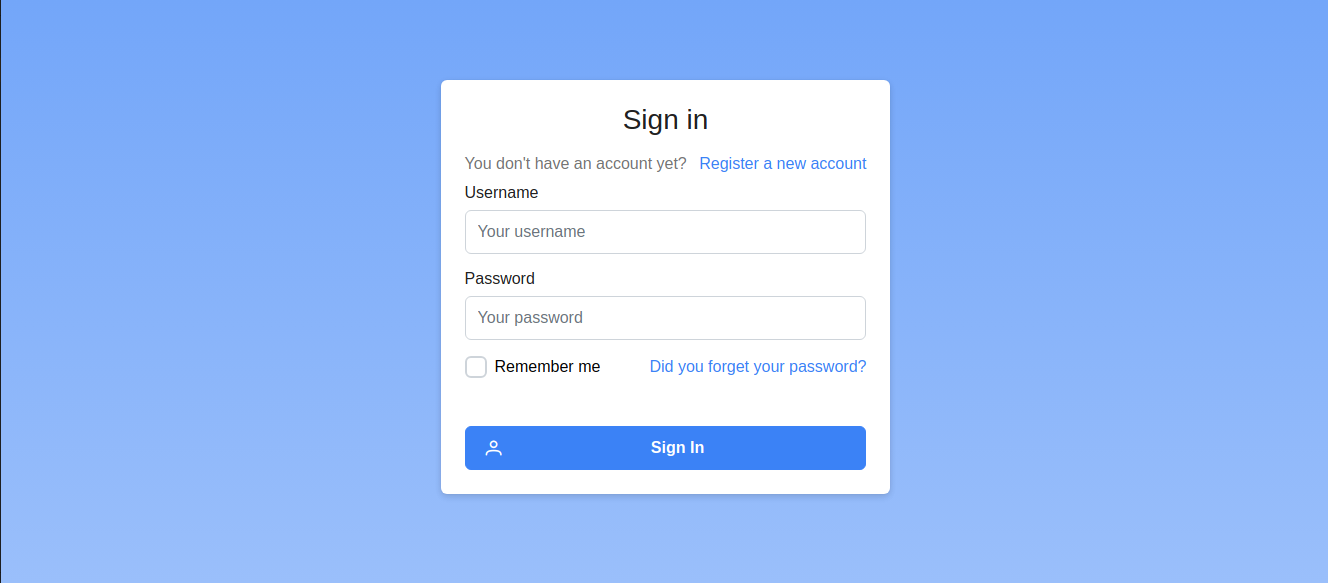
After the backend and frontend applications are running, you can access the application through a web browser at http://localhost:9000.

-
Default login credentials are admin/admin and user/user.
-
After logging in, you will be able to see the application's main page.

Stopping the Application
-
The Angular and Spring Boot applications can be terminated by pressing
Ctrl+Cin the terminals where they are running. -
The application's infrastructure can be stopped with the following command:
docker compose -f ./src/main/docker/app-dev.yml down